Manage title classifications at the district
A district can create a district-level title classification, and determine if that classification is visible for all or only admin. District users can create title classifications, determine their visibility, and limit by or view them in a Title & Copy List.
|
Important:
|
To set up a title classification:
-
Log in to Destiny as a District Administrator.
-
Select Admin > Configuration.
-
Next to Title Classifications, click Edit.
-
In the Add Title Classification field, enter a classification name.
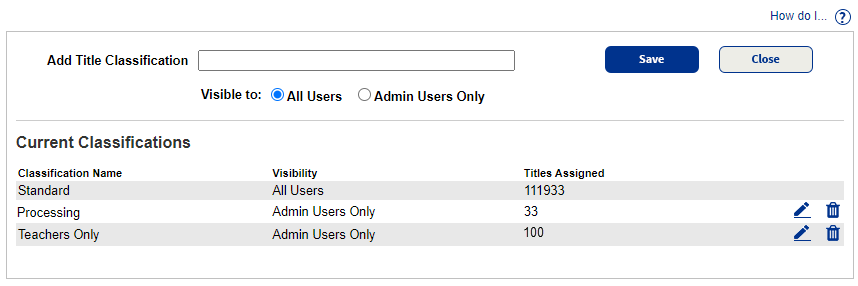
Example: A district uses a title classification of "Processing" for books that are purchased, but not ready to be checked out by patrons.
-
Next to Visible to, do either of the following:
Select... To.. All Users Allow title to be seen by all users. Admin Users Only Note: Only users with the role of Administrator, Faculty, Instructor, or Staff can see this title. Restrict viewing title to admin only.
-
Click Save.
To edit or delete a title classification:
| If you want to ... | Then... |
|---|---|
| Edit a title classification |
|
| Delete a title classification |
|

To apply a classification to a title:
| Note: To see, apply, or change classifications at the site-level, users must have the Change Title Classifications permission. |
-
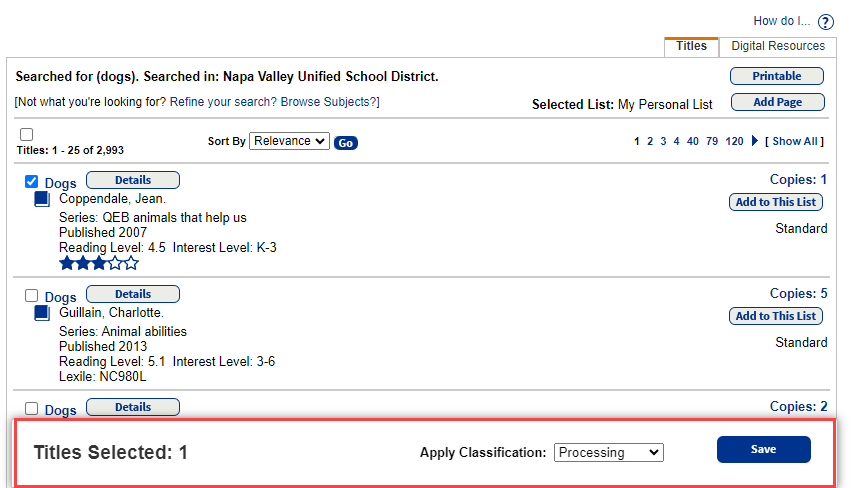
Select Catalog > Library Search.
-
Search for the title you want.
-
Next to that title, do one of the following:
From search results... From the title record... -
Select the checkbox next to its name. The Apply Classification pop-up appears.
-
Use the drop-down to select the classification you want.
-
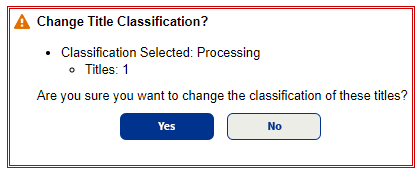
Click Save. The Change Title Classification confirmation appears.
-
Click Yes.
-
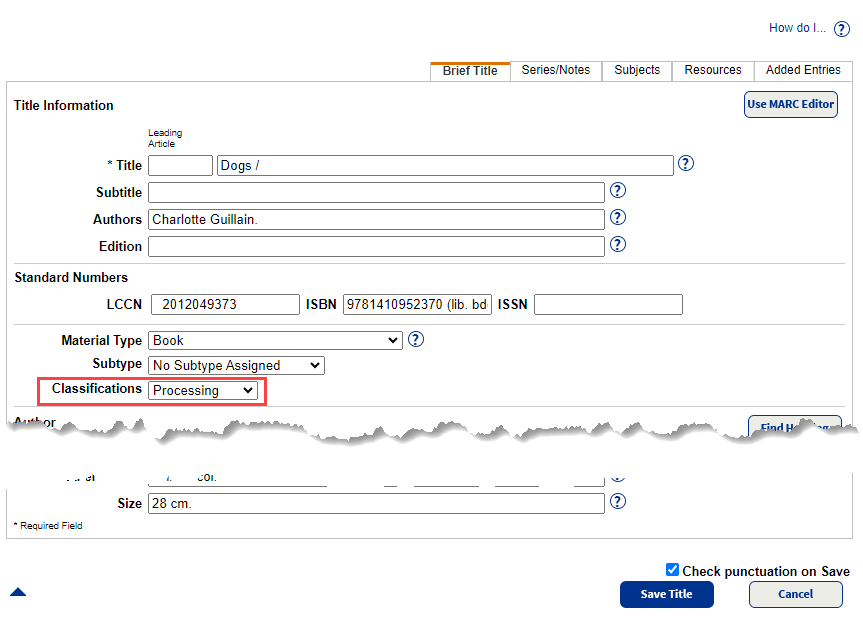
Click Details.
-
On either the Title Details sub-tab or the MARC View sub-tab, click Edit Title.
-
Next to Classifications, use the drop-down to select the classification you want.
-
Click Save Title.
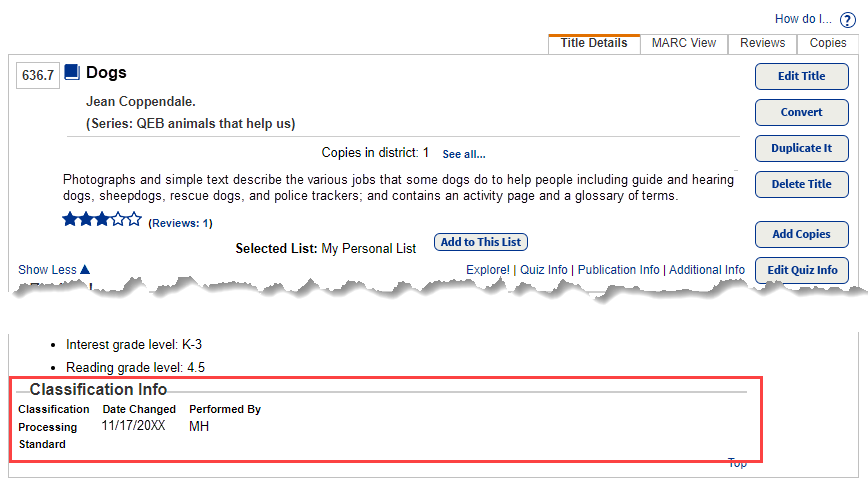
-
Classification info appears at the bottom of the Titles Details page.
|
Important:
|