Process a transfer request (Resource Manager)
|
Important: Before a site can request a resource transfer, a Destiny Administrator must complete the Resource Manager setup for your district. |
Request a Transfer
See Request a Transfer.
Submit a New Request
See New Transfer Resource Request.
Process a Transfer Request Sent to the District
After a transfer request is sent to the district, the district confirms which sites have the resources and forwards the request. Depending on the number of available resources, more than one site might need to fulfill the request.
- Log in to the district.
- Select Catalog > Transfer Resources > Requests sub-tab.
- In the Open Requests section, find the request you want to view and click
 .
.
Note: The resource type and number requested are listed at the top of the View Request page. In the Available Items section, you can see which sites have the requested resource and how many each site has.
- Find the site you want to transfer resources from; in the Request field, type the number of items you want the site to send to the requesting district.
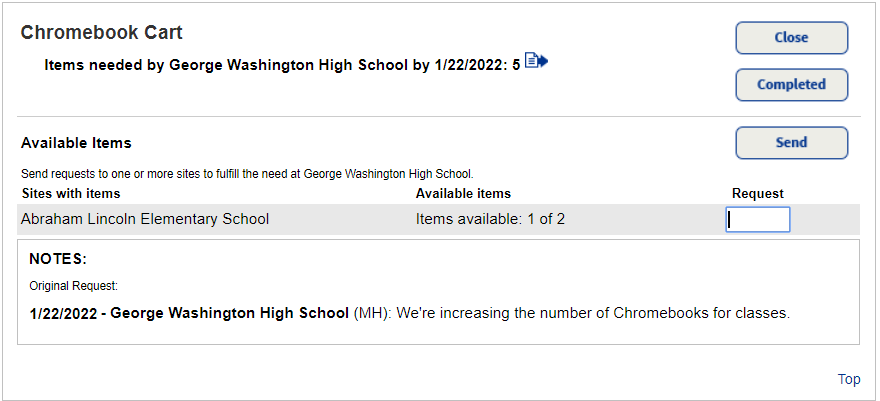
- To send the request to the site with available resources, click Send.
Note: You can send the request to multiple sites and have each site fulfill only part of the request. - Type a note for the school receiving the request from the district, and then click Yes.
- Click Close.
The request moves to the Pending Requests section.
Reply to a transfer request from the district
Once the district directs a transfer request to a site with available resources, the site confirms if it will transfer the requested resources.
- Log in to your site.
- Select Catalog > Transfer Resources > Requests sub-tab.
- In the Incoming Requests from the District section, find the request that requires a reply, and then click .
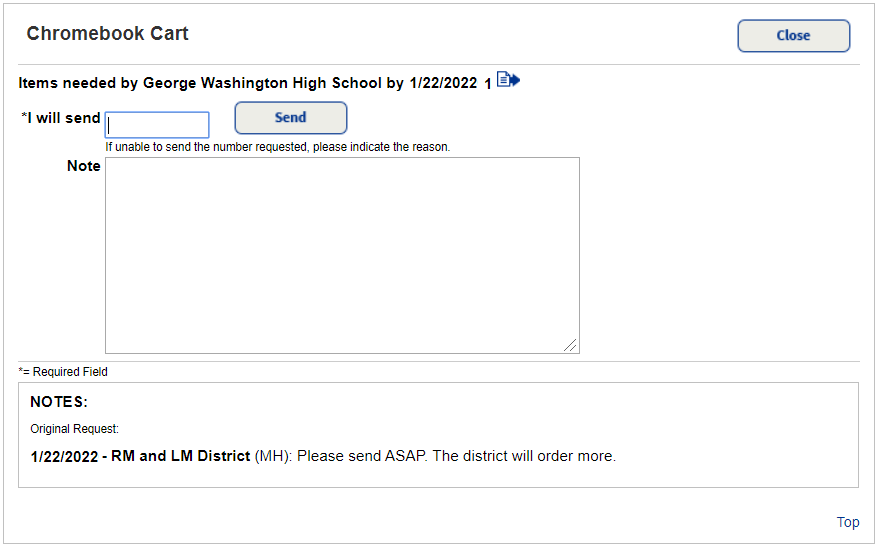
- In the I will send field, type the number of resources to transfer.
- Type a note about the number or condition of resources you are sending.
- Click Send. The message is sent to the district, and you are returned to the Transfer Resources page.
You now need to upload the transfer of resources as requested by the district. See Transfer resources (Upload tab).
In-Hand Transfer
In-hand transfers are not processed through transfer requests.
An in-hand transfer is when an item or container from another site in your district is scanned at your site, and then transferred to your site.
|
Notes:
|
|
Example: An item in your district is scanned at your site, but it is currently assigned to another site in the district.
|